How to Make a Witch’s Spell Book
Becuase Your Halloween Decor Deserves a Little Black Magic
Forget the boring party-store props. This spell book is serving spooky chic on a budget. It’s the perfect piece to add drama to your Halloween display without spending days hunched over a glue gun.
This is my kind of DIY: minimal effort, maximum effect. ✨ All you really need is an old hardcover book (the kind collecting dust on a shelf), some paint, a little glitter, and just enough patience to let it dry.
When you’re done, you’ll have a witchy masterpiece that belongs on your mantel, your bookshelf, or front and center on your Halloween display. It looks like it was plucked straight from a gothic fairytale… the kind of decor your guests will obsess over and swear you picked up from some dark, secret antique shop.
So grab that forgotten book, summon your inner sorceress, and let’s make your Halloween decor feel spellbound.
SUPPLIES
Hard-cover book (thrifted is perfect)
Hot glue gun + sticks
Raised embellishments: wood/puffy letters for titles, plastic skeletons, gears, buttons, ribbon/trim, upholstery tacks, faux jewels
Paper towels (separate to 1-ply)
Mod Podge (matte) + sponge brush
Acrylic paint: black + 1–2 metallics (gold, bronze, pewter)
Small detail brush + foam brush
Hairdryer or heat tool
Strong coffee or distressing ink, paper towel for dabbing
Optional: glow-eyes, spiderwebs drawn with hot glue, label printables
Time: 60–90 minutes active, plus drying
Skill level: Beginner
STEP 1:
PLAN THE COVER
Lay out your title letters and embellishments on the front and spine. Think layers and asymmetry: a button “medallion” under a skull, ribbon over the spine title, a few upholstery tacks for “studs.” Don’t worry about colors yet; everything gets painted.

STEP 2:

GLUE IT DOWN
Open the book flat so both covers face up. Hot-glue your letters and décor to the cover and spine. If any piece already looks perfectly distressed, set it aside and glue it on after painting.
STEP 3:
ADD OLD-LEATHER TEXTURE
Brush a thin coat of Mod Podge over the covers and spine. Separate paper towels to a single ply, lightly mist or dab with water, then press them onto the surface. Let them wrinkle naturally; trim around letters and raised pieces. Dab another coat of Mod Podge on top to seal. Speed-dry with a hairdryer 4–6 minutes.

STEP 4:
PAINT IT MIDNIGHT
Paint everything black, including over the textured paper towel and embellishments. You can mix a drop of metallic into the black for a subtle sheen. Let it dry fully.


STEP 5:

DRY-BRUSH METALLIC HIGHLIGHTS
With almost no paint on your brush, skim metallic across raised areas: letter edges, skulls, “hardware,” and texture ridges. Build highlights in light passes. Glue on any pre-distressed pieces you saved.
STEP 6:
AGE THE PAGE EDGES
Gently crinkle small sections of pages for waviness. Dab strong coffee along the outer page edges to antique them; let dry. Distressing ink works too if you prefer no moisture near paper.
Through the Years:
My Bewitching Spell Book Creations


STYLE IDEAS

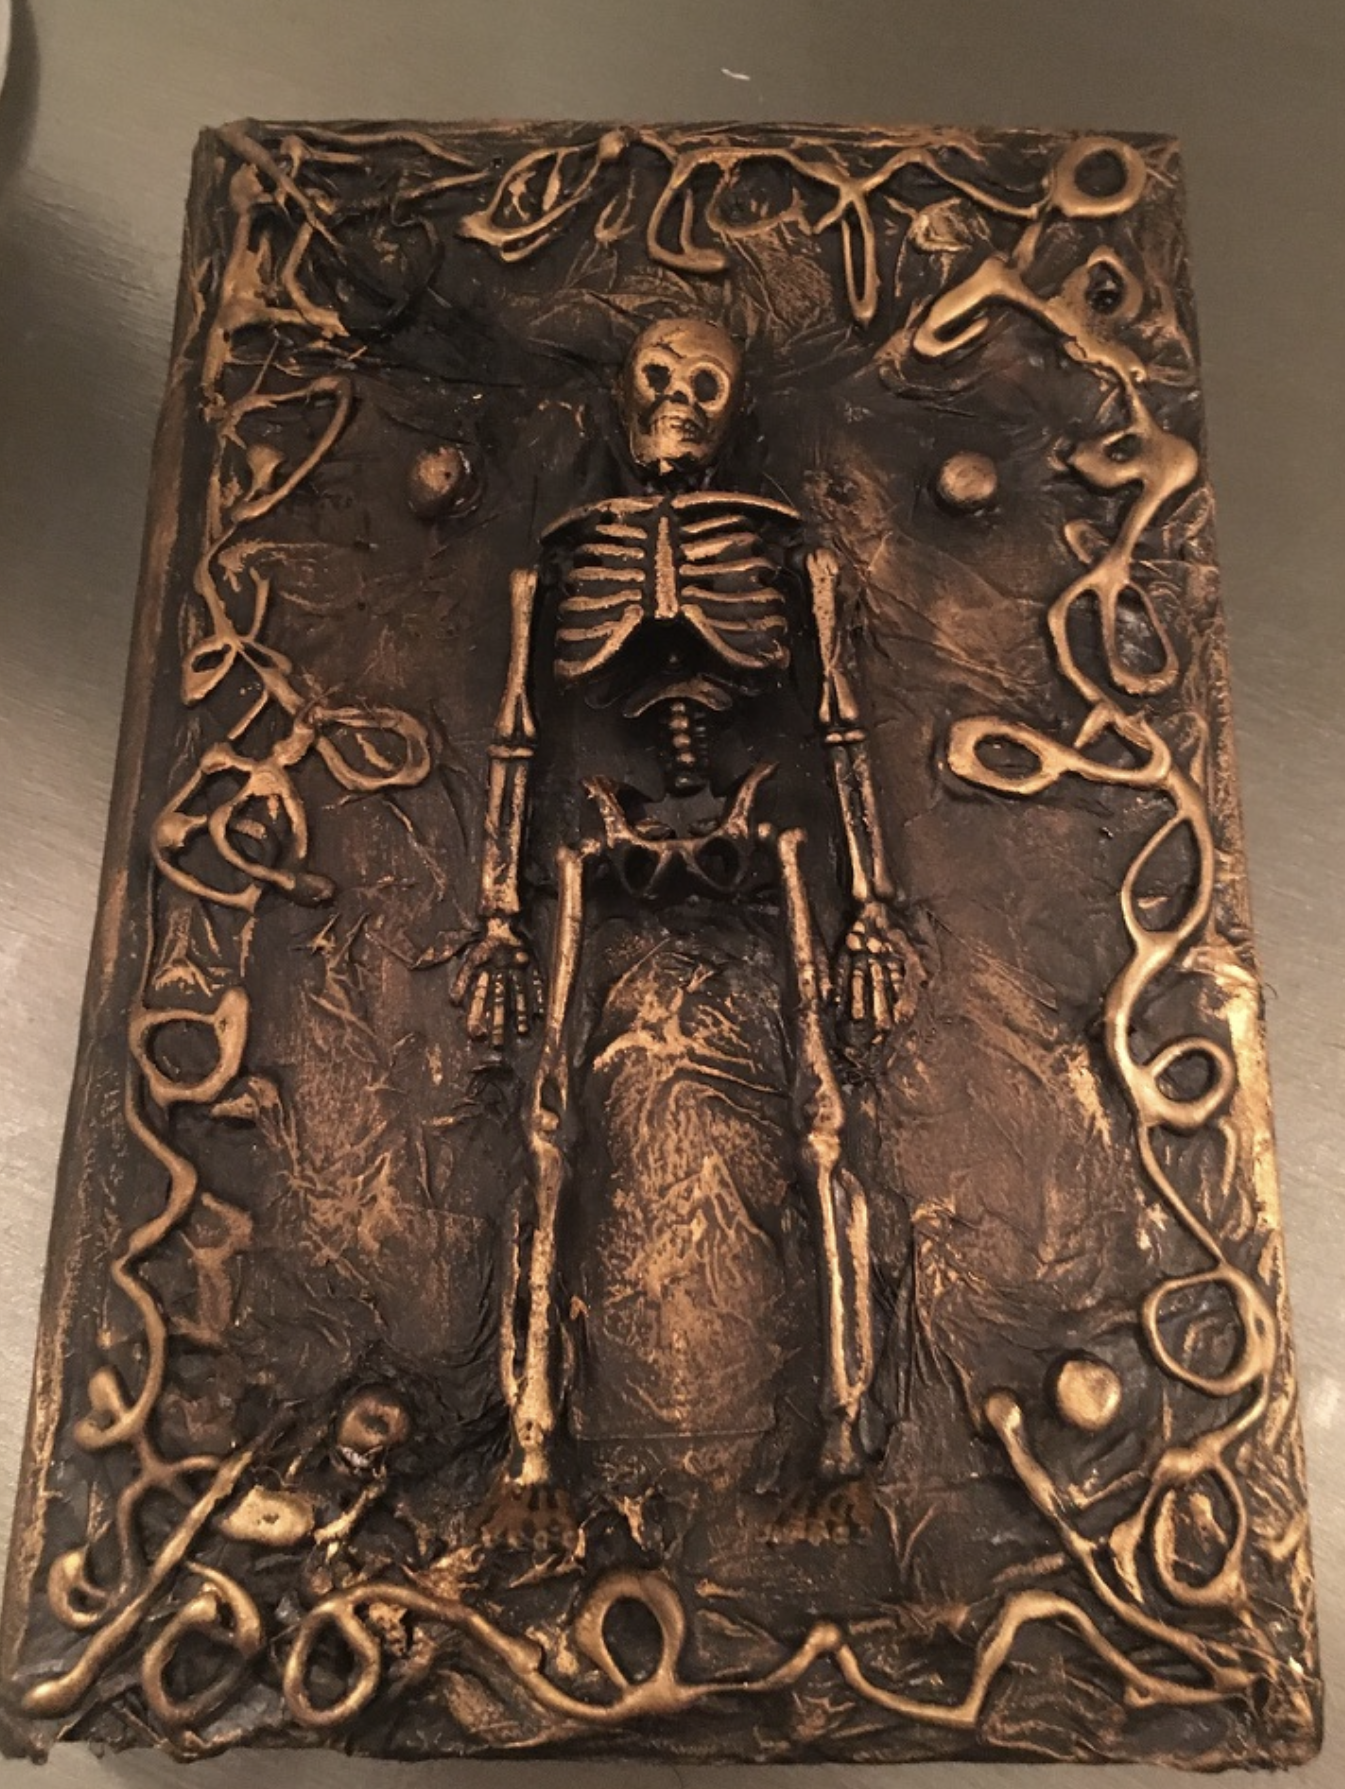
Pages of mystery, painted in midnight.
Spellbound in style. Even the books were dressed for the occasion for our spooky vibes from our Halloween Party.
Spiderwebs: Freehand thin webs with hot glue before the texture step, then paint and highlight.
Titles: “Book of Shadows,” “Poisons & Potions,” “Herbarium Occultum,” or a custom family “grimoire.”
Edge gilding: Add the faintest gold dry-brush on page edges after the coffee dries for a luxe relic vibe.
Stay bold. Stay magic.
May your world be spellbound,
xx,
Alice